Here is a brief guide on how to install hesly temporary fencing system: from residential renovations and commercial construction to large infrastructure projects, the principles of installing temporary fencing are very similar.
Here are some key do's and don'ts when considering how to install temporary fencing.
Safety alert
Prior to commencing installation of Temporary Fence Panels, a site safety inspection must be undertaken and suitable controls implemented to reduce or eliminate the risk of injury.
1. Identify hazards to yourself & others
2. Assess the likelihood of injury including to the public
3. Find a way to minimise the risk & consult with others
4. Re-check the controls as you go & make changes
5. Complete necessary permits, inductions, assessments & SWMS
6. Ensure all PPE is worn by all team members
7. All relevant site safety rules & legislative requirements must be adhered to at all times
8. Panels fence feet must be installed using safe lifting practices
Do’s & Don’ts
- DO ensure transport vehicle is on solid, even ground before unloading.
- DO maintain distance from suspended loads and mobile plant.
- DO, where possible, work away from the public and mobile or slewing plant.
- DO ensure debris is removed & ground is solid, dry and even to avoid slips or trips.
- DO maintain panel bundles of no more than 30, firmly and evenly strapped before transporting
- DO ensure fence feet are stacked, shrink wrapped and strapped on pallets for transport and storage
- DON’T work under the influence of alcohol, other drugs or fatigue
- DON’T install unbraced panels where there is a risk of fencing moving or falling
- DON’T attached signage or shade-cloth on unbraced panels
- DON’T impede walkways, roadways or otherwise deviate from permits, plans or instructions
- DON’T install where there is risk of falls greater than 2m without height safety equipment
- DON’T use faulty equipment or tools
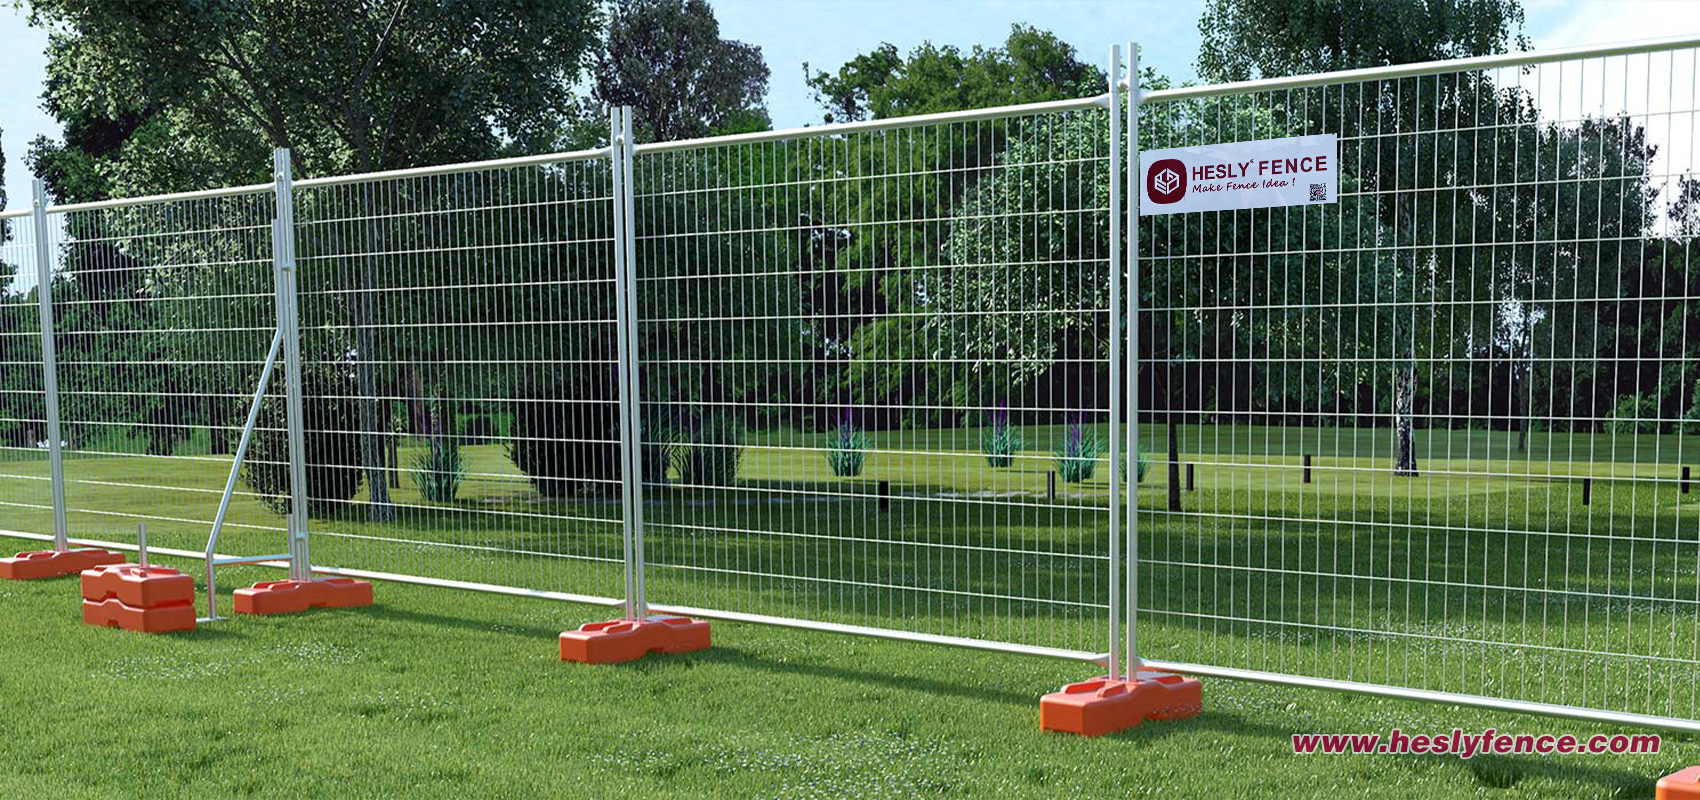
Components and Specs
Basic:
- Panels (2100mm x 2400mm)
- Fence Feet
- Coupler with bolt & nut
Additional:
- Support brace
- Handrails (2470mm x 400mm)
Basic Installation
- Fence line must be determined by site inspection, instruction and/or permits.
- Fencing is to be installed to a maximum of 3° out of plumb before additional bracing is required (see BRACING)
- Lay out panels along a length of the perimeter with fence feet between each panel (See figure 1)
- Fence feet must be 90° to fence panel to guarantee stability – approx. 2.3m apart
- Lift panel into fence feet hole securely – repeat for other end of the panel (See figure 2) assistance is recommended
- Place coupler on two vertical pipes above top rails of the panels joins and secure nut tightly with 16mm socket or spanner (see figure 3)
- Ensure panels or fence feet do not impede walkways or roadways (hand rails must be used if permit allows
- install on or near pedestrian pathways – see HANDRAILS)
- High visibility fence feet should be used in trafficked areas
- Repeat steps 3 – 7 until the install is completed – Perform regular checks of the area to ensure safe install.